Pages

Showing posts with label Art In the Home. Show all posts

Thursday, 21 January 2016

Me and My Sketchbook

Art has always been something that I've enjoyed for my whole life. While I was a teenager, I lived and breathed art. I took art as a subject in high school and was always drawing, or painting, or photographing something (or writing). I really enjoyed completing sketches of anything I could find that caught my eye; actually I drew a lot of eyes.

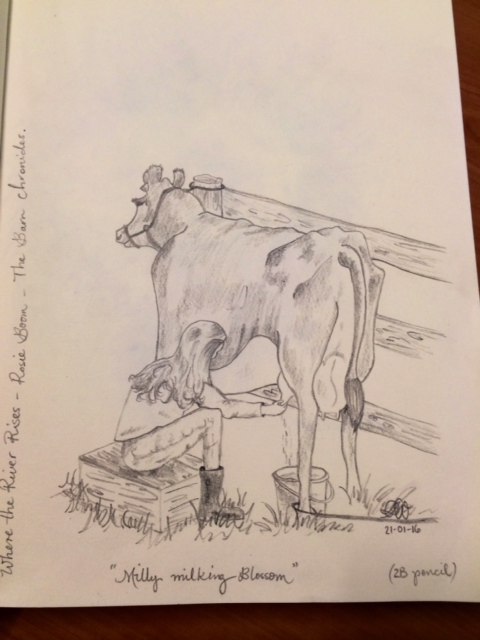
I haven't shared much in the way of sketching on my blog until now, as I haven't been giving myself time to do any! Lately I've picked up my pencil again and allowed my heart room to breathe over the blank pages. It's been very refreshing. 

I do know now, and I guess it comes with age, that my favourite drawing subject is anything that resembles life 'in the old days', and anything that is anthropomorphic (animals that behave like humans, e.g Beatrix Potter)  All the sketches below are copied from other artists pieces (for personal use only), but eventually I would like to feel 'practiced enough' to create my own scenes and artworks too.


You begin with the possibilities of the material. 
- Robert Rauschenberg


Draw your pleasure, paint your pleasure, and express your pleasure strongly.
 -Pierre Bonnard


The essence of all beautiful art, all great art, is gratitude. 
- Friendrich Nietzsche  


“Art is not what you see, but what you make others see.” 

― Edgar Degas

I believe it's important to make room in our lives for the things that make us come alive; the things that help us reflect and relax, grow and change, be thankful and happy. 

I'm not sure what I'll sketch next, but that's the fun of it. Just seeing something and knowing I'd like to give it a try! 


I hope you've all had a wonderful week.

Blessings to you all.

Wednesday, 6 January 2016

A New Un-Named Space!

Over the last two days I have been setting up my new art room. I'm not certain that that is what I am definitely going to call it, 'art room', or whether it's going to be 'craft room', 'relax room' ... whatever! All I do know is that I have this absurd compulsion to name things, and this room is no exception.

How getting my own room came about is a very long story that I won't bore you with. I'm just happy to have one, and I'm really excited to be using it through the year!


I have op-shopped pottery over the years, as it's normally so cheap, and all hand made too. I like having my most frequently used items within easy reach, and these pottery jars are perfect for keeping them out, yet organised.


This long table is predominantly for my sewing (which I am still definitely a beginner with!) and so it also has my sewing box and basket (with crotchet and embroidery work in it) close by.


I added my favourite books to my shelf and some pottery that was my late Nana's. 


The white chest of drawers is where I put my Quite Time Basket so I can grab it when I'm relaxing on the lounge.


You all know I love comfort. So this room has crotchet blankets, cushions, candles, and lamp light. And yes, that is a hat box turned into a little kitten bed for Aslan, he needs a comfy spot too!


My walls are decorated with op-shop art, so each piece cost no more than $10. The pink and purple flowers in the vase painting was also my late Nana's artwork that I remember hanging up in her home. It's extra special.


Last night I spent time in here praying, adding to my bullet journal, reading and relaxing. It was such a nice way to end a long day.

Do you have any suggestions for names? It has to be named something, and I need your help! Thanks everyone!

Monday, 23 March 2015

A Feature Wall On A Budget

Plain. Boring. Old. Ugly. These are the words that I would use to describe the wall in our main bedroom.  

See? ...


But, seeing as we're renting here, I couldn't go about changing the paint colour, as much as I would've liked to. I also wasn't wanting to spend a lot of money transforming this wall from ugly to beautiful. So, I headed out to visit my favourite shops in the world, op shops, to see what lovely bargains I could find among them!

I wanted the walls to have a personal feel. And so I decided to add some of my own artworks to the collage wall too. I only used canvas boards (the thin, flat ones) and two boxed canvases that I already had in my art cupboard and set to painting a couple of pieces. I scoured the house and found some paintings I did that were under our bed and have a 'history' in our relationship, so to speak. 

It is very possible to create a beautiful wall with very little cash spent at all. 
I absolutely love buying and making art for my home that hasn't broken the budget and adds the personal touches that tell the story of my family.


  1. A favourite photograph of my man and I that I printed onto canvas paper and framed in a basic white frame. The frame doesn't even have glass in it! I like that though, as I can feel the texture of the canvas paper that way! 
  2. A beautiful stitched piece that I found at Vinnie's, I only paid $5.00! I love the bright yellow happiness it adds to the room!
  3. This cute little birds nest is, I think, the most expensive thing on this wall ... it is new, and was $7.00. Adding three-dimensional pieces was something that I really wanted to do, and the size of this nest is perfect.
  4. My husbands initial. $5.00 chipboard letter, painted turquoise and stripped with black and white polka-dotted washi tape (I've got to put washi tape in there somewhere!)
  5. Another piece that I drew using oil pastels and a light blue water colour wash for the background swirl. It's also in a glass-less frame & I like the reminder the verse gives us.
  6. My husband loves sunsets and sunrises. So I painted this on a boxed canvas with acrylic paint to remind us that His mercies are new every morning.                                      
     
  7. When we were dating, I painted this piece for my husband of the Twelve Apostles. I used oil paints on a flat canvas board. He loves the ocean, and he loves this painting too. I was actually going to get rid of it when the frame broke, but I'm so glad I didn't. It is something that we both love.
  8. Another 3D little piece. A butterfly glass, lid thingy ... very technical name I know! It was only 20c at an op shop, so I don't really care about its name, it's just beautiful!
  9. My initial. Chipboard letter painted cream and lined with a strip of yellow patterned washi tape and a thin strip of turquoise washi tape.
  10. I really love trees. This is a simple little artwork that I painted, using acrylic paint and cotton buds! I already had the boxed canvas, so it cost nothing really!
  11. A cute little country cottage that I painted on a tiny little canvas board with acrylic paints. I like that the lights are on inside the home, I imagine a family living in there all warm and snug.
  12. Another 'tribute' to my husbands love of the ocean! This is a canvas that I painted at our children's school in an art lesson (before we began homeschooling). It is painted in acrylic and I just love it!
  13. Last but not least ... a very cute little oil painting that I brought at an op-shop for $3.00. If you look closely you can see a lady sitting under the tree wearing a lovely dress. It is just peaceful and pretty, so I had to add it to the collage!

I love what Myquillyn Smith writes in her book 'The Nesting Place' ... "It doesn't have to be perfect to be beautiful" ... I think I tend to agree!

Have a lovely day!

(Linking up with Amaze Me Mondays)

Wednesday, 11 March 2015

10 Easy Steps To A Clean Art & Craft Cupboard

I have been busy reorganizing my craft/art cupboard in between all the other stuff that's done on a daily basis! I was finding that my main large cupboard was just too hard to keep clean and organised. It would stay clean for  a short period of time, then ... chaos! Supplies falling on top of me every time I opened the doors! 

As it was a spur of the moment clean out, I didn't take any before shots. But, believe me when I say it was nasty! Little Miss P gave me a much appreciated helping hand to sort through things as they were relocated.

Here are my top 10 steps for cleaning out a craft/art cupboard ...

  1. start with a couple of plastic bags for rubbish
  2. have a plastic bag (or box) to use for give away items 
  3. have a plastic bag/box for charity items (if you wish)
  4. have a plastic bag/box for garage sale items (if you're planning on having one within the next couple of months)
  5. take out everything from your cupboard, adding items to rubbish or other bags/boxes listed above.
  6. spray and wipe the shelves and drawer insides
  7. organize supplies into similar items (e'g' scrap booking cutters, card stock, acrylic paints, paintbrushes, etc.)
  8. Choose which self/drawer you would like each item in. I find that grouping like items together makes it so much easier to find things that you need for a particular project without any fuss or time wasting. 
  9. Neatly go about re-stacking your supplies back into your cupboards!! This is the fun part!
  10. You could even go one step further (which I haven't yet done) and label drawers/shelves with the items they hold!
Now all that's left to do is take out the rubbish bags, put the garage sale box in the shed, and pop the give-away or charity boxes into the boot of your car straight away so that you've got them to drop off when you're out and about!

And there you have it! One lovely organised craft/art cupboard that lets you be the most creative you can be! I took all of my scrap booking supplies out of my main cupboard and organised them into a small, cute little kitchen sideboard cupboard that I brought for only $30.00. It is a perfect size to keep all these items together and very easily accessible. It turned out pretty cute! ...


I really love the two drawers in this cupboard. They are perfect for putting my current project in the left side and my pens, scissors, tapes and other small items in the right side! I'm really happy with the results!

In my larger cupboard I have my writing resources and work, my paints and brushes, canvases, letter writing supplies, sewing items, and art journals. It only took a couple of hours to achieve such a great organised space that I really enjoy using now! 

So, how about you? Will these steps help you to better organize your favourite space? Let me know how you go! I hope you enjoy!

Monday, 16 February 2015

Exciting Parcels and a Cute Fridge!!

Diagnostic tests have arrived in the mail!!! ...

 
So this week has been spent completing tests and getting ready to begin our home school year!


While my older three were completing their tests, my little man was enjoying some creative time ...


 Diagnostic testing is not all we've been doing though. Mr S got out in the shed with dad to help him build a ladder that will be given a shabby chic finish, and sold at the markets. It was so good for my mothers heart to see my son spending time with his Dad, and with mans tools in his hands.


Even though we've not officially begun our studies, we are really making the most of learning life skills however we can! I honestly don't know why we didn't start home schooling earlier!
 
There's been time for tea parties with my girls again, and time to create some artworks that I can hopefully sell at my market stall.


Oh yes! The cute fridge ...
 
... I ordered some sticky9 magnets, as I'm slightly addicted, and so now our fridge looks like this! ...


It makes me happy every time I look at it!
 
I think these magnets would make fantastic gifts for family, especially if they live far away!
Have any of you got your beautiful little memories in magnets on the fridge too?
 
I hope you're all having a beautiful blessed week!


Saturday, 4 October 2014

The Art In My Home

There are a few things that I see as important in making a house a home. Art is one of them. Obviously a home is much more than the 'things' we fill it with, actually it's got very little to do with that. I've found though, that being a creative person I'm drawn to things that are beautiful. Looking around my home and seeing beauty and colour and 'other worlds' that I've brought for pennies for my children to look at and enjoy is just another little something that makes my heart happy.

"Art is the only way to run away without leaving home".

So here are a few of my favourite new op-shop paintings, they've all been purchased for under ten dollars. I just love a beautiful bargain! ...

This beautiful tree painting was brought for me from a very special friend,
she said it reminded her of me as I love trees so much!

This feels like home to me. And Anne of Green Gables. Oh how I'd love to live there! 
I couldn't resist this piece when I saw it in our local op-shop for only five dollars! I wonder what's beyond those woods?

Another wonderful friend humoured me when we were on a drive one day and pulled over at a garage sale for me to nab this gorgeous painting, and only twelve dollars! It hangs above our bed and I just love dreaming of living in that little shack!

My newest art addition, and I think it's stunning! A little bargain from another day trip out to a little country towns antique shop saw me quickly buying this lovely piece for just ten dollars! The colour of the water is just so perfect!

I love creating a home that is warm, cosy, interesting, inviting and full of character. I have a love of all things old-fashioned, art included. 

My mum says, 'You can never run out of wall space' ... I think I tend to agree.

Is art a way that you beautify your home too?


** Don't forget this is a part of the 31 Days challenge, my introduction can be found here **

I look forward to writing about Everything Home again for you tomorrow!

Tuesday, 1 July 2014

Taking In The Moments; Crossing Off # 1 and Laughing Lots While We're At It!

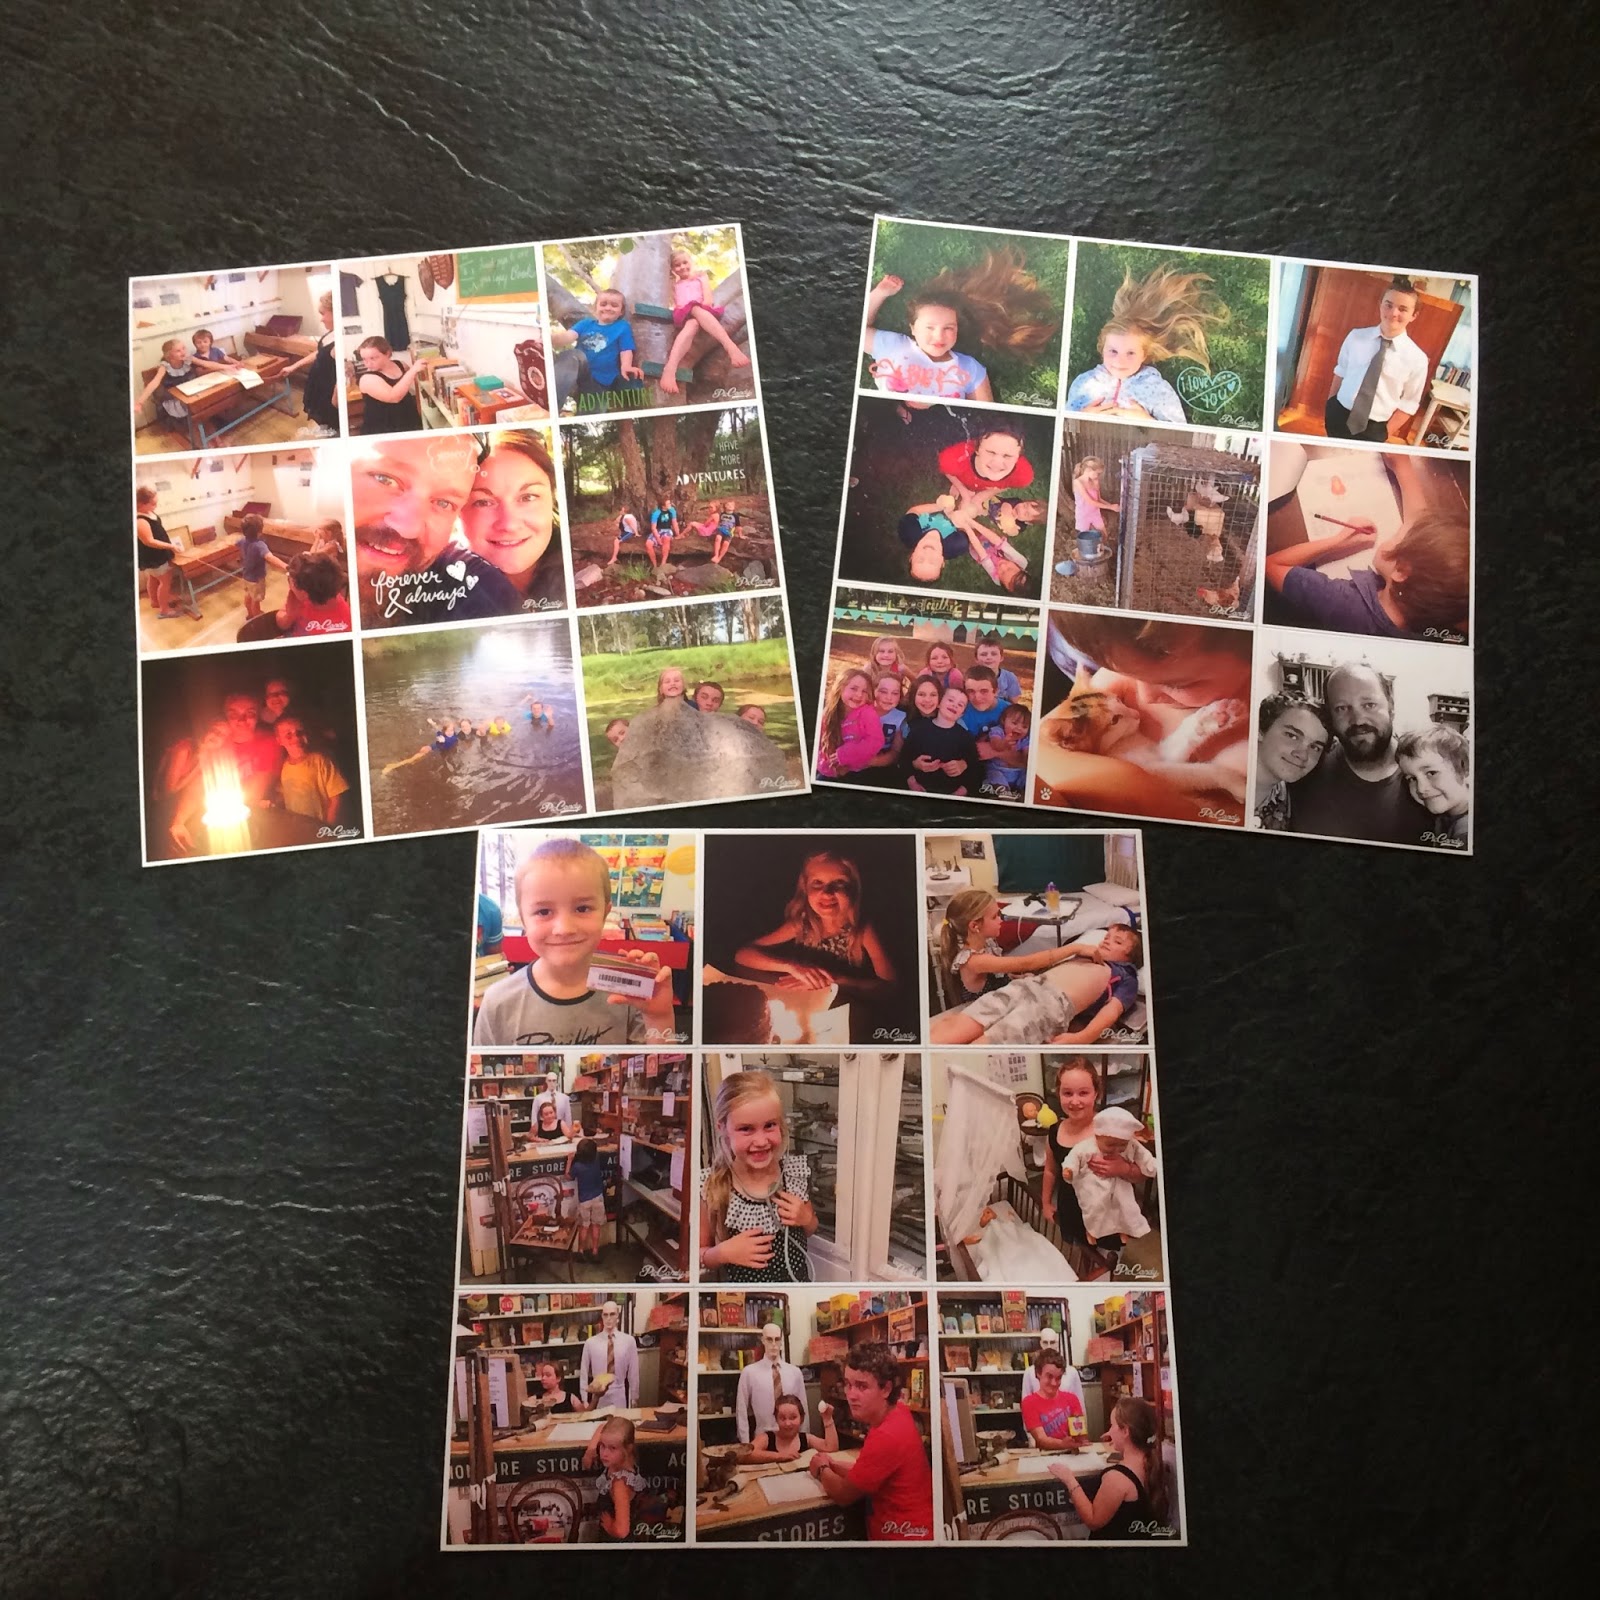
So, we have crossed one activity off our 'Taking In The Moments' school holiday list, and I just need to tell you all that it was so much more fun than I thought it was going to be! We did some 'photo collage art' together ...


At first my eldest son (twelve) Mr S, wasn't impressed with the idea (I think that's typical of boys his age!), but I asked if he could do one just for me. He did one, and enjoyed it so much that he went on to do another two! We all laughed so hard together!


Yesterday was freezing cold and windy, so it really was the best day to be snuggled up inside with the fire place roaring and a family making easy, cheap and hilarious memories. You really need to try it with your kids! When MR S arrived home from work, he even sat down and did one, he's so good like that. He loves memory making too.

Here they are, and maybe I'm biased, but get ready to laugh ... !!!


The one above was created by four year old Mr R ... pretty cute I think!

The following ones are done by Little Miss J ...


This bath one is my favourite of Little Miss J's!


Mr S did the following ones, as he didn't really want to join in, he ended up doing some very funny ones! ...


This is MR S's one ...


These next ones are created by Little Miss P, I love them all! ... 


And these ones are mine ...


Have any of you already made these together? I hope that you will give them a go, and that you laugh as hard and as much as we all did!

Have a fun-filled week!

Related Posts Plugin for WordPress, Blogger...